DIY Garden Lighting Ideas Using Solar Jars
Introduction
Transform your garden into a magical oasis with DIY solar jar lighting! This eco-friendly and budget-conscious approach not only adds ambiance but also utilizes the power of the sun. Forget expensive electrical installations and embrace the charm of handcrafted illumination. This article will guide you through inspiring DIY solar jar lighting ideas to brighten up your outdoor space.
DIY Solar Jar Lighting Ideas
Choosing Your Jars
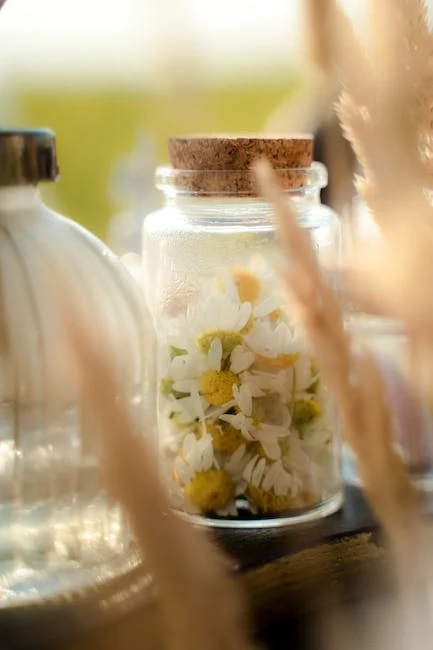
The possibilities are endless when it comes to selecting jars for your solar lights. Consider these options:
- Mason Jars: Classic, readily available, and come in various sizes.
- Upcycled Glass Jars: Repurpose pickle, jam, or pasta sauce jars for a sustainable choice.
- Colored Jars: Add a playful touch with tinted or painted glass.
- Textured Jars: Frosted or patterned jars diffuse light beautifully.
Ensure the jars are clean and dry before starting your project.
Selecting Solar Lights
Choosing the right solar lights is crucial for optimal brightness and longevity. Here’s what to look for:
- Solar Lid Inserts: These are specifically designed for jar lighting and often include a built-in light sensor.
- Mini Solar Garden Lights: Small, individual solar lights that can be placed inside the jar.
- Fairy Lights with Solar Panel: String lights that can be coiled inside the jar, creating a magical effect.
Consider the amount of sunlight your garden receives when choosing the brightness of the solar lights.
DIY Project: Classic Solar Jar Lanterns
- Gather Materials: Mason jars, solar lid inserts, decorative pebbles or sand (optional).
- Prepare the Jar: Clean the jar thoroughly. Add a layer of pebbles or sand for added stability and visual appeal.
- Install the Solar Lid: Simply screw the solar lid insert onto the jar.
- Placement: Place the jar in a sunny location to charge. Enjoy the soft glow at night!
DIY Project: Fairy Light Solar Jars
- Gather Materials: Glass jar, fairy lights with solar panel, drill (optional), twine or ribbon.
- Create an Opening: If the jar lid is solid, carefully drill a small hole for the fairy light wire (adult supervision required). Alternatively, you can run the wire around the edge of the jar.
- Arrange the Lights: Carefully coil the fairy lights inside the jar.
- Attach the Solar Panel: Place the solar panel in a sunny location, connecting it to the fairy lights.
- Decorate: Add twine or ribbon around the jar for a rustic touch.
DIY Project: Hanging Solar Jar Lights
- Gather Materials: Mason jars, wire, pliers, solar lights, rope or chain.
- Create a Hanger: Use pliers to bend wire into a loop around the neck of the jar, creating a secure hanger.
- Install Solar Lights: Place your chosen solar light inside the jar.
- Attach Rope/Chain: Connect rope or chain to the wire hanger.
- Hang: Hang your solar jar lights from trees, porches, or pergolas.
Placement Tips for Optimal Lighting
- Sunlight Exposure: Ensure your solar jars receive at least 6-8 hours of direct sunlight per day for optimal charging.
- Strategic Placement: Place jars along pathways, patios, or garden beds to highlight features and create a warm ambiance.
- Group Arrangements: Create visual interest by grouping solar jars of different sizes and styles.
- Consider Weather: Bring your solar jars indoors during extreme weather conditions to protect them.
Conclusion
DIY solar jar lighting is a fun, affordable, and eco-friendly way to enhance your outdoor space. With a little creativity and effort, you can transform ordinary jars into captivating sources of light, creating a magical and inviting garden atmosphere. Experiment with different jars, lights, and decorations to personalize your projects and showcase your unique style. Start creating your own solar-powered oasis today!


Post Comment