How to Make Seed Bombs for Guerrilla Gardening
Introduction
Guerrilla gardening, the act of cultivating land that you don’t own, offers a rewarding way to beautify neglected spaces and promote biodiversity. Seed bombs provide a simple and effective method for discreetly dispersing seeds in areas where traditional gardening isn’t possible. This guide will walk you through the process of making your own seed bombs, allowing you to contribute to a greener and more vibrant environment.
Making Seed Bombs: A Step-by-Step Guide
Gathering Your Materials
Before you begin, gather the following materials:
- Clay Soil: This acts as a binding agent, protecting the seeds and providing nutrients as it breaks down.
- Compost: Provides essential nutrients for seed germination and initial plant growth. Opt for nutrient-rich compost.
- Seeds: Choose native wildflower seeds or other species appropriate for your local climate and soil conditions. Consider a mix of annuals and perennials for longer-lasting impact.
- Water: To bind the mixture together.
- (Optional) Dried Chili Powder: Can deter pests like ants and slugs from eating the seeds. Use sparingly!
The Seed Bomb Recipe
A good ratio to start with is:
- 5 parts clay soil
- 3 parts compost
- 1-2 parts seeds (depending on seed size)
Mixing the Seed Bomb Ingredients
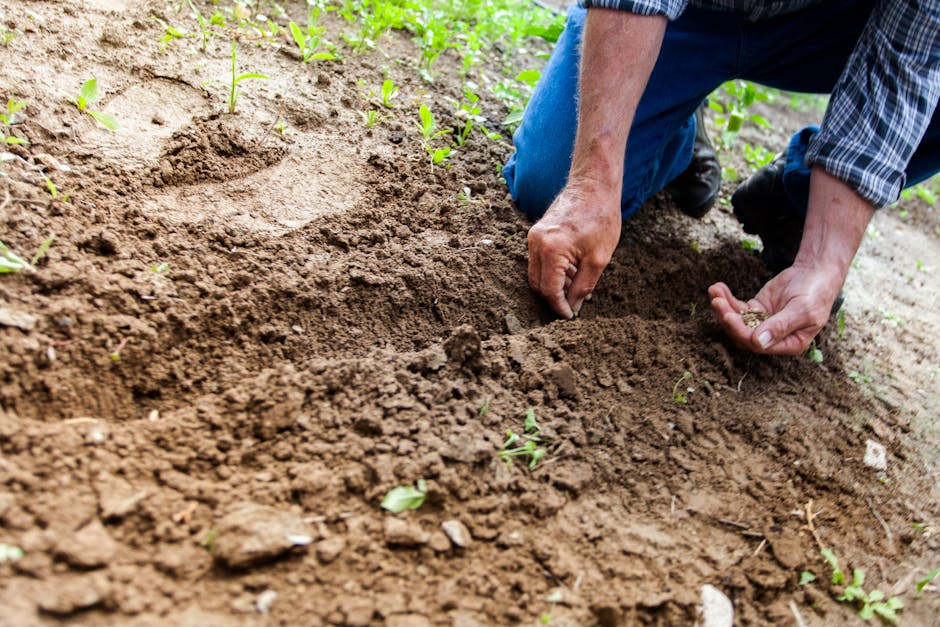
- Combine Dry Ingredients: In a large bowl, thoroughly mix the clay soil, compost, and seeds. Ensure the seeds are evenly distributed throughout the mixture.
- Add Water Gradually: Slowly add water, a little at a time, while mixing the dry ingredients. The goal is to create a dough-like consistency that holds its shape when formed into a ball, but isn’t too wet.
- Mix Thoroughly: Use your hands to mix the ingredients until they are well combined. The mixture should be pliable and slightly sticky.
Forming the Seed Bombs
- Roll into Balls: Take a small amount of the mixture (about a tablespoon) and roll it between your palms to form a ball. The size should be similar to a small marble or a gumball.
- Ensure Uniformity: Try to make each seed bomb relatively uniform in size and shape. This will help with even distribution.
- Allow to Dry: Place the seed bombs on a tray lined with newspaper or parchment paper. Allow them to dry completely in a well-ventilated area. This may take several days, depending on the humidity. Turning them occasionally will help them dry evenly.
Choosing the Right Seeds
Selecting the appropriate seeds is crucial for the success of your seed bombs. Consider the following factors:
- Native Plants: Opt for native wildflowers and grasses that are well-suited to your local climate and soil conditions. Native plants support local ecosystems and require less maintenance.
- Sunlight Requirements: Choose seeds that match the amount of sunlight the target area receives.
- Soil Type: Select seeds that thrive in the soil type of the target area (e.g., sandy, clay, or loam).
- Avoid Invasive Species: Do thorough research to ensure the seeds you choose are not invasive in your region. Introducing invasive species can harm the local ecosystem.
Guerrilla Gardening Tips
Before deploying your seed bombs, consider these tips:
- Timing is Key: The best time to plant seed bombs is in the early spring or late fall, when there is adequate moisture and cooler temperatures.
- Target Areas: Focus on neglected or underutilized areas, such as vacant lots, roadside verges, or abandoned construction sites.
- Discreet Placement: Toss your seed bombs discreetly, avoiding areas where they might be disturbed or removed.
- Respect Private Property: Be mindful of property lines and avoid trespassing.
- Consider Environmental Factors: Avoid planting near waterways or in areas prone to flooding.
Conclusion
Making seed bombs is a fun, sustainable, and impactful way to contribute to a greener environment. By following these steps and choosing the right seeds, you can transform neglected spaces into vibrant havens for pollinators and other wildlife. So, gather your materials, get creative, and start spreading the seeds of change!


Post Comment