How to Turn an Old Ladder into Shelves
Introduction
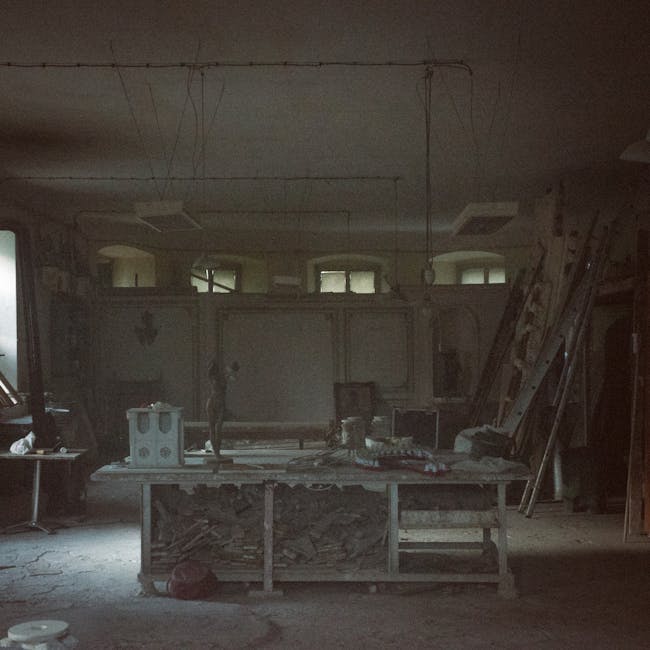
Don’t throw away that old ladder collecting dust in your garage! With a little creativity and effort, you can transform it into a unique and stylish shelving unit. Repurposing old ladders into shelves is not only a budget-friendly way to add storage and character to your home, but it’s also an eco-conscious choice. This guide will walk you through the steps to turn that forgotten ladder into a stunning piece of furniture.
Transforming Your Ladder into Shelves: A Step-by-Step Guide
Preparing Your Ladder
Before you start adding shelves, it’s crucial to prepare the ladder for its new role. This ensures its safety and longevity as a shelving unit.
- Cleaning: Thoroughly clean the ladder with soap and water to remove dirt, grime, and cobwebs. Use a scrub brush for stubborn areas.
- Inspection: Carefully inspect the ladder for any signs of damage, such as loose rungs, cracks, or rust. Repair any issues before proceeding.
- Sanding: Lightly sand the ladder to smooth any rough edges and prepare the surface for painting or staining. This will also help the finish adhere better.
- Painting or Staining: Choose a paint or stain that complements your home décor. Apply multiple thin coats, allowing each coat to dry completely. Consider using a sealant for added protection.
Designing Your Shelves
Consider the spacing and layout of your shelves based on the ladder’s design and your storage needs.
- Measuring: Measure the distance between the ladder rungs to determine the size of the shelves you’ll need. Remember that the width of the ladder will likely change from top to bottom.
- Shelf Material: Choose your shelving material. Common options include:
- Wood: A classic choice that offers durability and a natural look. Consider reclaimed wood for an extra touch of rustic charm.
- Glass: Adds a modern and airy feel. Ensure the glass is tempered for safety.
- Metal: Provides an industrial aesthetic.
- Shelf Shape: Decide on the shape of your shelves. Rectangular shelves are the most common, but you could also consider curved or angled shelves for a more unique look.
Building and Installing the Shelves
This is where the transformation truly takes place. Carefully attach your shelves to the ladder, ensuring they are secure and stable.
- Cutting the Shelves: Cut your chosen material to the measured dimensions. If using wood, sand the edges smooth.
- Attaching the Shelves: There are several ways to attach the shelves:
- Screws: Drill pilot holes and use screws to attach the shelves directly to the ladder rungs. This is a sturdy and reliable method.
- Brackets: Use metal brackets to support the shelves. This is a good option if you want to be able to adjust the shelf placement later.
- Adhesive: For lightweight items, construction adhesive can be used, but this is not recommended for heavy loads.
- Securing the Ladder: To prevent the ladder shelves from tipping over, it’s essential to secure it to the wall. Use wall anchors and screws to attach the ladder to the studs in the wall.
Styling Your Ladder Shelves
Now for the fun part! Decorate your new shelves with your favorite items.
- Books: Arrange books by color or size for a visually appealing display.
- Plants: Add some greenery to liven up the shelves.
- Picture Frames: Display cherished memories.
- Decorative Objects: Vases, sculptures, and other decorative items can add personality to your shelves.
- Baskets: Use baskets to store smaller items and keep the shelves organized.
Conclusion
Turning an old ladder into shelves is a rewarding DIY project that adds character and functionality to your home. By following these steps, you can create a unique and stylish storage solution that showcases your creativity and repurposes a forgotten item. So, grab that old ladder and get ready to transform it into a stunning piece of furniture!


Post Comment