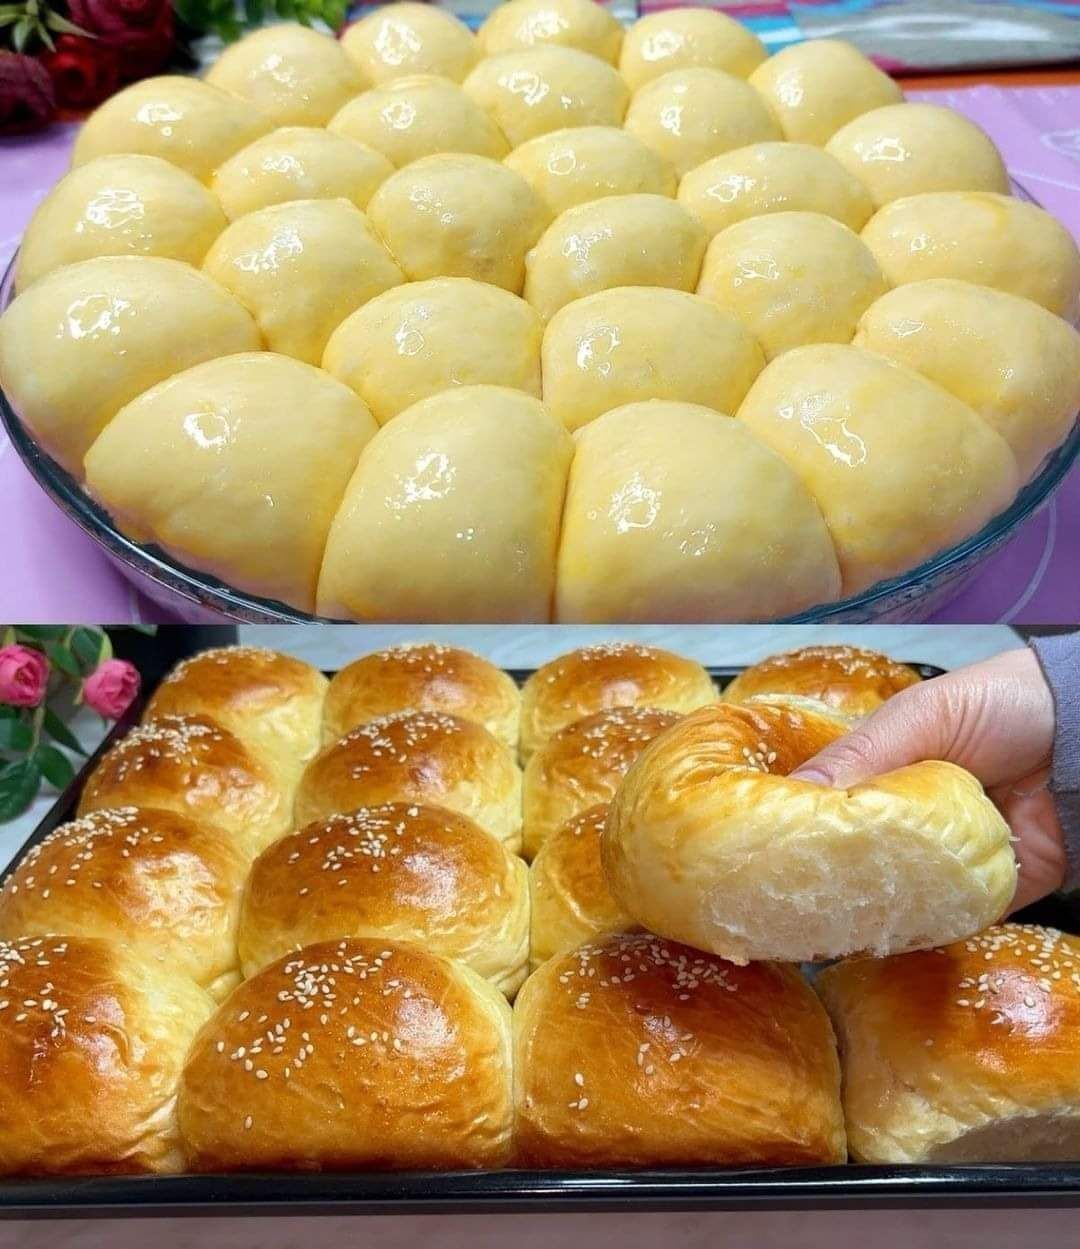
MILK BRIOCHE ROLLS
Craving Soft, Buttery Goodness? Let’s Bake Milk Brioche Rolls!
Picture this: a warm, golden-brown roll, its surface glistening with a light sheen, and an aroma that fills your kitchen with pure comfort. That’s the magic of milk brioche rolls. More than just bread, these are little pillows of flavor, perfect for breakfast, lunch, or even a special dinner. Let’s dive into the delightful world of making these treats at home!
*Suggested image: A close-up shot of a basket filled with golden-brown milk brioche rolls.*
Understanding the Allure of Milk Brioche Rolls
What makes milk brioche rolls so special? It’s the combination of enriched dough – thanks to the milk, butter, and eggs – and the slow fermentation process that develops a complex, rich flavor and a wonderfully soft, almost melt-in-your-mouth texture. They’re a step up from your average dinner roll, offering a touch of elegance and a whole lot of deliciousness.
*Suggested image: A side-by-side comparison of a regular dinner roll and a milk brioche roll, highlighting the difference in texture.*
The Secret Ingredients for Success
The quality of your ingredients matters! While the recipe itself is crucial, using fresh, high-quality ingredients will elevate your milk brioche rolls to another level. Here’s a breakdown:
* **Flour:** Bread flour will give you the best rise and structure, but all-purpose flour works in a pinch.
* **Milk:** Whole milk contributes to richness and flavor. Warm the milk slightly (around 110°F or 43°C) to activate the yeast.
* **Butter:** Unsalted butter is best, allowing you to control the overall saltiness. Make sure it’s softened for easy incorporation.
* **Eggs:** Eggs add richness, color, and structure. Use large eggs at room temperature.
* **Yeast:** Instant dry yeast is convenient, but active dry yeast works too – just remember to proof it first.
* **Sugar:** A little sugar helps feed the yeast and adds a touch of sweetness.
* **Salt:** Essential for flavor!
*Suggested image: A collage of the key ingredients – flour, milk, butter, eggs, yeast, sugar, and salt – arranged attractively.*
Step-by-Step: Crafting Your Milk Brioche Dough
Making milk brioche dough requires a bit of patience, but the results are well worth the effort. Here’s a general outline. Remember to always consult a specific recipe for exact measurements and timings:
1. **Combine Ingredients:** In a large bowl or the bowl of a stand mixer, combine the warm milk, yeast, sugar, and salt. Let it sit for a few minutes to activate the yeast.
2. **Add Eggs and Flour:** Add the eggs and gradually incorporate the flour, mixing until a shaggy dough forms.
3. **Incorporate Butter:** Add the softened butter, one tablespoon at a time, mixing well after each addition until the dough is smooth and elastic. This can take some time – be patient!
4. **First Rise:** Cover the dough and let it rise in a warm place for about 1-2 hours, or until doubled in size.
5. **Chill (Optional but Recommended):** Punch down the dough and chill it in the refrigerator for at least 2 hours, or even overnight. This helps develop flavor and makes the dough easier to handle.
6. **Shape and Second Rise:** Divide the dough into equal portions and shape them into rolls. Place them on a baking sheet lined with parchment paper and let them rise for another 30-60 minutes, or until puffy.
7. **Bake:** Brush the rolls with an egg wash for a golden-brown finish and bake in a preheated oven until golden brown.
*Suggested image: A series of photos illustrating the step-by-step process of making the dough – from mixing ingredients to shaping the rolls.*
Tips for Brioche Baking Success
* **Don’t Overmix:** Overmixing can lead to tough rolls. Mix until just combined.
* **Temperature Matters:** Keep your ingredients at the right temperature for optimal results.
* **Patience is Key:** Don’t rush the rising process. A good rise is essential for light and airy rolls.
* **Egg Wash:** An egg wash gives the rolls a beautiful shine and enhances browning.
* **Cooling:** Let the rolls cool slightly on the baking sheet before transferring them to a wire rack to cool completely.
*Suggested image: A close-up shot of perfectly browned milk brioche rolls, glistening with an egg wash.*
Enjoying Your Homemade Milk Brioche Rolls
Now for the best part – savoring the fruits of your labor! These rolls are incredibly versatile.
* **Breakfast:** Enjoy them with butter, jam, or honey.
* **Lunch:** Use them to make delicious sandwiches.
* **Dinner:** Serve them alongside your favorite meals.
* **Dessert:** A bit of whipped cream and fresh berries turns them into a simple but elegant dessert.
They’re also fantastic for making bread pudding or French toast!
*Suggested image: Various ways to enjoy milk brioche rolls – with butter and jam, as sandwiches, or as part of a bread pudding.*
Ready to Bake?
Milk brioche rolls might seem intimidating at first, but with a little patience and attention to detail, you can easily create these delightful treats in your own kitchen. So gather your ingredients, roll up your sleeves, and get ready to experience the joy of homemade goodness! Happy baking!


Post Comment