Introduction to DIY Watering Can Decor
Looking for a charming way to add personality to your garden or home? Consider the delightful world of **DIY watering can decor**! Taking an ordinary, functional item and transforming it into something beautiful is a satisfying and rewarding project.
Repurposing old watering cans into decorative pieces is a creative way to express your personal style. From rustic farmhouse chic to whimsical fairy gardens, the possibilities are truly endless.

Benefits of DIY Watering Can Decor
Why choose **DIY watering can decor** over store-bought decorations? The benefits extend far beyond just aesthetics.
* **Cost-effective:** Upcycling an existing watering can is much cheaper than buying new décor.
* **Unique:** Your creation will be one-of-a-kind, reflecting your personal taste.
* **Sustainable:** Repurposing materials is an environmentally friendly choice.
* **Therapeutic:** Crafting is a relaxing and enjoyable activity.
* **Conversation starter:** Unique décor pieces always spark interesting conversations.
Beyond the practical advantages, DIY watering can projects offer a chance to unleash your creativity. Feel free to experiment with different paints, embellishments, and planting arrangements.

Step-by-Step Guide
Ready to get started on your own **DIY watering can decor** project? Here’s a simple step-by-step guide to help you along the way.
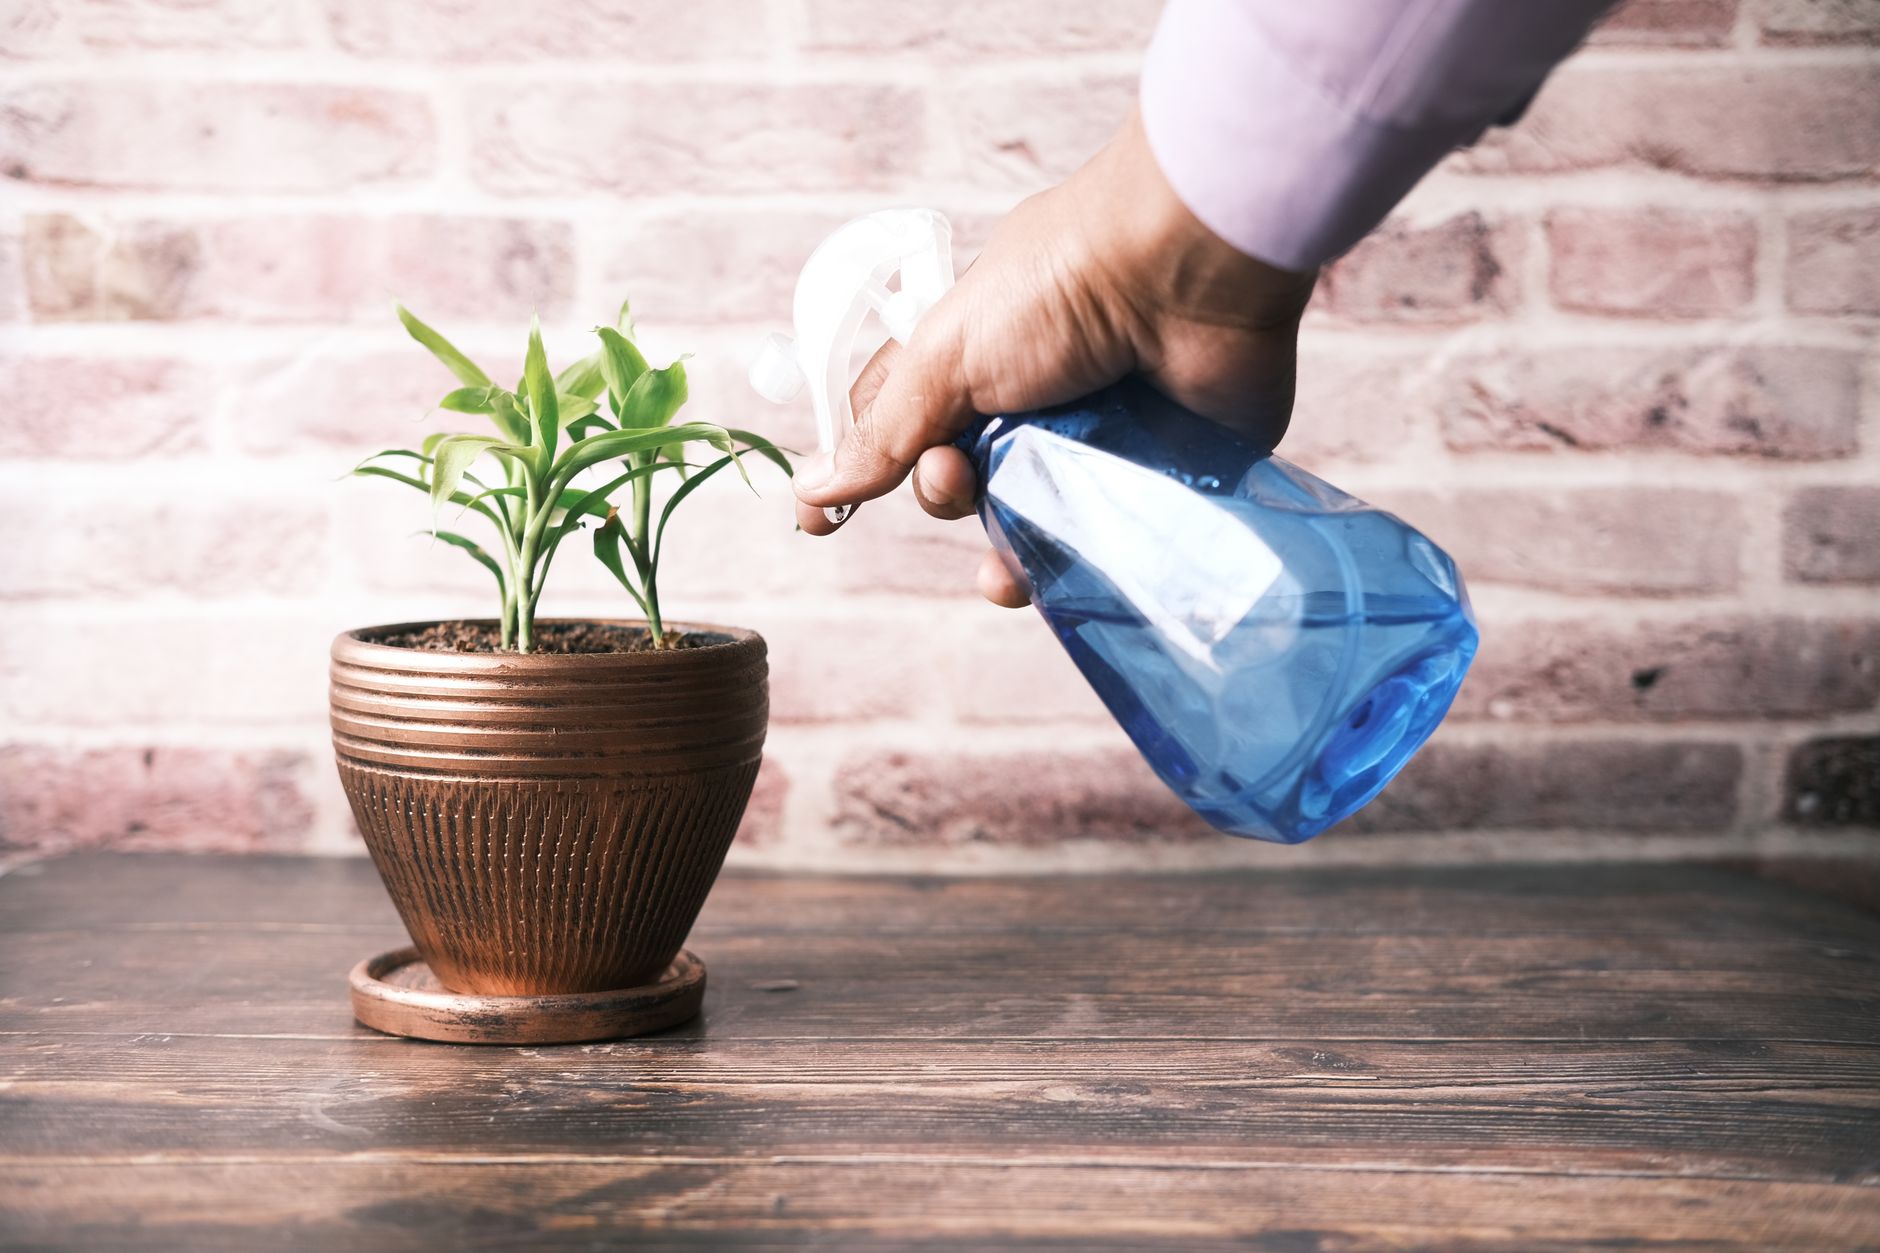
* **Step 1: Preparation:** Clean the watering can thoroughly. Remove any rust or dirt. You may need to use a wire brush or sandpaper to remove stubborn rust.
* **Step 2: Priming (Optional):** If you plan to paint the watering can, consider applying a primer first. This will help the paint adhere better and create a more even finish.
* **Step 3: Painting:** Choose your desired paint colors and apply them to the watering can. You can use spray paint, acrylic paint, or chalk paint. Consider layering different colors or using stencils for added detail.
* **Step 4: Embellishments:** Add any embellishments you like, such as ribbons, beads, shells, or small figurines. Use glue or wire to attach the embellishments securely.
* **Step 5: Planting (Optional):** If you want to use the watering can as a planter, drill drainage holes in the bottom. Fill it with potting soil and plant your favorite flowers or herbs.
* **Step 6: Sealing (Optional):** To protect your creation from the elements, consider applying a sealant. This will help prevent the paint from chipping or fading.
Creating a Fairy Garden Watering Can
Transform your watering can into a whimsical fairy garden! This project is perfect for adding a touch of magic to any outdoor space.
1. Follow steps 1-3 above, perhaps choosing whimsical colors like pastel blues, greens, and pinks.
2. Glue small fairy figurines, miniature houses, and tiny plants inside the watering can.
3. Use moss, pebbles, and other natural materials to create a realistic fairy landscape.
4. Position the watering can in a visible spot in your garden.

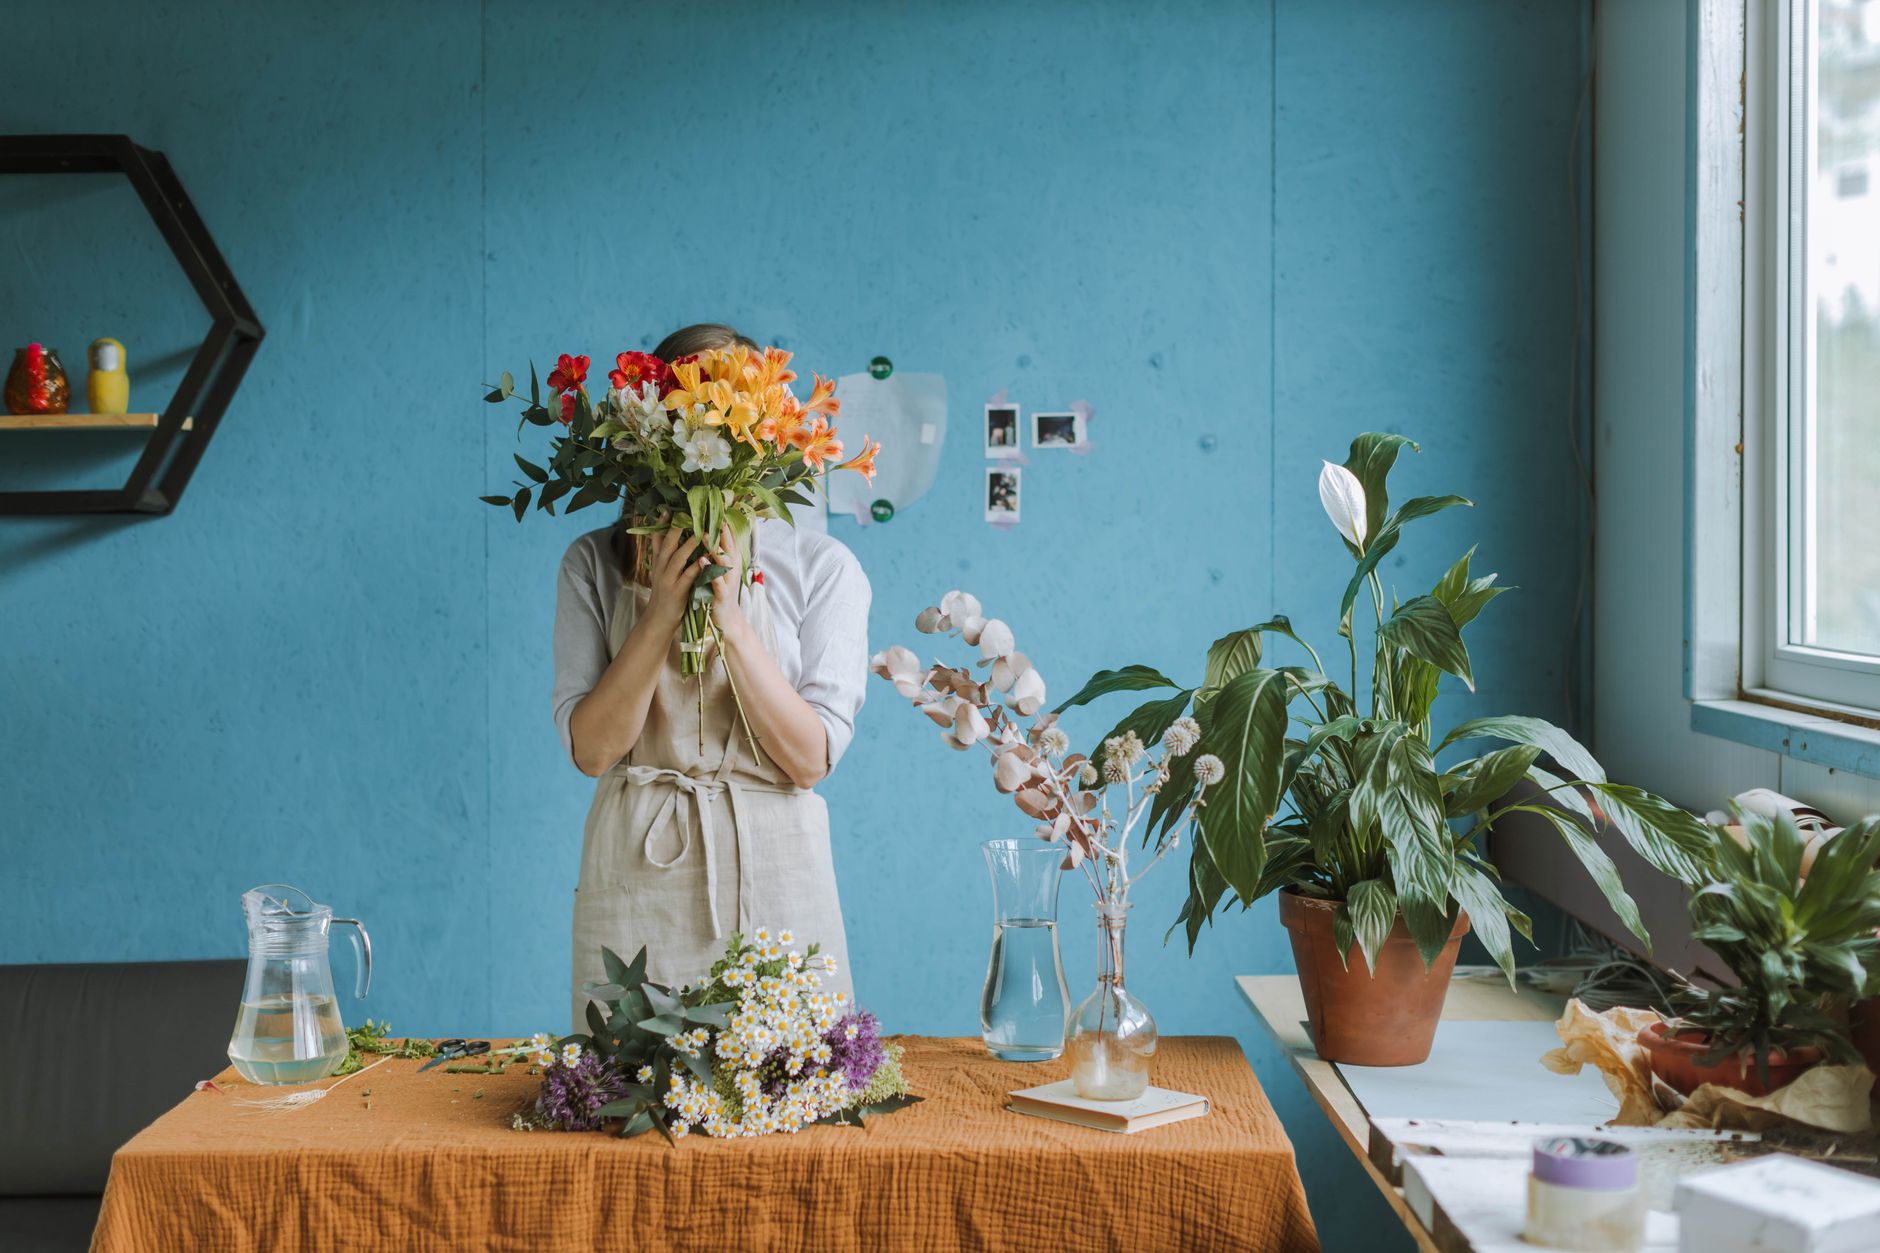
Rustic Watering Can Flower Display
For a more rustic look, create a charming flower display using an old watering can.
1. Leave the watering can in its original, weathered condition, or lightly sand it for a vintage effect.
2. Fill the watering can with water and arrange fresh or artificial flowers inside.
3. Consider using wildflowers or other natural-looking blooms for a rustic touch.
4. Place the watering can on a porch, patio, or in your garden.
Tips for Perfect DIY Watering Can Decor
To ensure your **DIY watering can decor** project is a success, keep these helpful tips in mind.
* **Choose the right watering can:** Look for a can that is in good condition, with minimal rust or damage. Galvanized steel watering cans are a popular choice for their durability and rustic look.
* **Plan your design:** Before you start painting or embellishing, sketch out your design. This will help you visualize the finished product and avoid mistakes.
* **Use quality materials:** Invest in good quality paints, glues, and embellishments. This will ensure that your creation lasts longer and looks its best. source suggests that using high-quality materials can help prevent the need for frequent repairs.
* **Protect your work area:** Cover your work surface with a drop cloth or newspaper to prevent paint spills.
* **Let it dry:** Allow the paint and glue to dry completely before handling or displaying your watering can.

Common Mistakes to Avoid with DIY Watering Can Decor
Avoid these common pitfalls when creating your DIY watering can décor to ensure a smooth and successful project.
* **Skipping the cleaning process:** Neglecting to properly clean the watering can before painting or embellishing can result in poor adhesion and a less durable finish.
* **Using the wrong type of paint:** Some paints are not suitable for metal surfaces and may chip or peel over time. Choose a paint that is specifically designed for metal or that is suitable for outdoor use.
* **Overdoing the embellishments:** Adding too many embellishments can make the watering can look cluttered and overwhelming. Less is often more!
* **Forgetting drainage holes:** If you plan to use the watering can as a planter, remember to drill drainage holes to prevent the roots from becoming waterlogged.
* **Ignoring the weather:** If you are placing your decorated watering can outdoors, choose materials that are weather-resistant and durable.
Frequently Asked Questions About DIY Watering Can Decor
Here are some common questions people ask about **DIY watering can decor**.
* **What kind of paint should I use?** Acrylic paints, spray paints, and chalk paints are all good options. Choose a paint that is designed for metal surfaces and that is suitable for outdoor use if you plan to display your watering can outside.
* **How do I prevent rust?** Clean the watering can thoroughly and apply a rust-inhibiting primer before painting. You can also apply a sealant to protect the finish from the elements.
* **Can I use a plastic watering can?** Yes, you can use a plastic watering can for this project. Just make sure to choose paints and glues that are compatible with plastic.
* **Where can I find embellishments?** Craft stores, dollar stores, and online retailers are all great places to find embellishments for your DIY watering can project.
Related article: For more inspiration, check out other articles about upcycling and garden décor.

Conclusion & Final Thoughts
Creating **DIY watering can decor** is a fun, rewarding, and eco-friendly way to add personality to your home and garden. With a little creativity and effort, you can transform an ordinary watering can into a stunning decorative piece that reflects your unique style. So, gather your supplies, unleash your imagination, and get ready to create something beautiful! Experiment with different styles and techniques to create a unique piece of art that you’ll be proud to display.