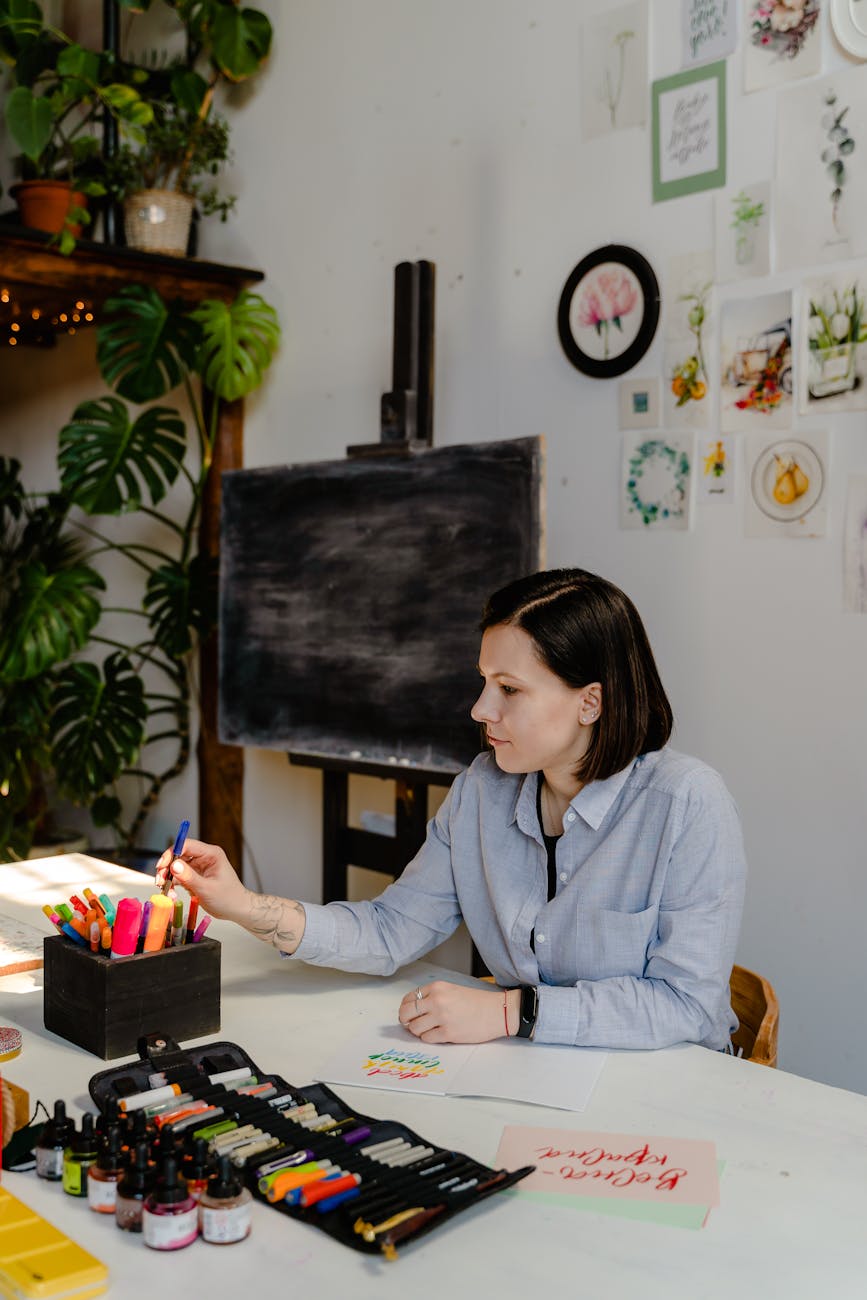
Ready to unleash your inner artist and give your plants a vibrant new home? Then let’s dive into the world of creative plant pot painting! It’s a fun, easy, and budget-friendly way to personalize your indoor or outdoor garden. You don’t need to be a Picasso; just a little enthusiasm and this guide!
In this article, we’ll explore the benefits, walk through a step-by-step process, share tips, and even address some common pitfalls. Get ready to transform those plain pots into stunning masterpieces. Let’s get started!
Benefits of creative plant pot painting
Why settle for plain terracotta when you can have a pot bursting with personality? There are so many benefits to getting crafty with your plant pots.
* **Personalized decor:** Express your unique style and create a cohesive look in your home or garden.
* **Budget-friendly:** Revamp old pots instead of buying new ones, saving you money.
* **Therapeutic activity:** Relax and unwind while engaging in a creative and mindful hobby.
* **Great gift idea:** Hand-painted pots make thoughtful and personalized gifts for friends and family.
* **Increased curb appeal:** Spruce up your porch or patio with eye-catching painted pots.

Step-by-Step Guide
Ready to transform your plain pots into works of art? Here’s a simple, step-by-step guide to creative plant pot painting success.
Gather your supplies
Before you begin, make sure you have everything you need. This will make the process smoother and more enjoyable.
* **Plant pots:** Terracotta, ceramic, or plastic pots will work.
* **Acrylic paints:** Choose colors that inspire you.
* **Paintbrushes:** A variety of sizes for different details.
* **Primer:** A good primer is crucial for helping paint adhere properly, especially on porous surfaces.
* **Sealer:** To protect your painted design from the elements.
* **Painter’s tape:** For creating clean lines and patterns.
* **Pencils and erasers:** For sketching your design.
* **Water and rags:** For cleaning brushes and spills.

Prepare your pots
Proper preparation is key to a long-lasting paint job. A little effort upfront can make a big difference.
1. **Clean:** Remove any dirt, dust, or debris from the pot. Use soap and water if necessary.
2. **Dry:** Ensure the pot is completely dry before proceeding.
3. **Prime:** Apply a coat of primer to the entire pot and let it dry completely. This helps the paint adhere better and prevents it from being absorbed by the pot, especially terracotta source.

Sketch your design (optional)
If you’re planning a more intricate design, sketching it out beforehand can be helpful. Don’t be afraid to get creative here! Consider geometric patterns, floral designs, or even abstract art. If you make a mistake, simply erase and try again.

Paint your masterpiece
Now comes the fun part! Let your creativity flow and bring your design to life. Start with larger areas first, then add details. Feel free to experiment with different techniques, such as stippling, dry brushing, or sponge painting.
* **Apply thin coats:** Multiple thin coats are better than one thick coat, as they dry faster and prevent drips.
* **Let each coat dry completely:** This will ensure a smooth and even finish.
* **Use painter’s tape:** For crisp, clean lines when creating geometric patterns.

Seal your work
Once your paint is completely dry, it’s time to protect your creation. Apply a coat of sealant to the entire pot, both inside and out. This will help protect the paint from moisture, UV rays, and scratches. Choose a sealant specifically designed for outdoor use if your pots will be exposed to the elements.


Tips for perfect creative plant pot painting
Want to take your creative plant pot painting skills to the next level? Here are some tips to help you achieve professional-looking results.
* **Choose the right paint:** Acrylic paints are a popular choice for plant pots because they are durable, water-resistant, and available in a wide range of colors.
* **Consider the environment:** If your pots will be outdoors, choose paints and sealants that are specifically designed for outdoor use.
* **Use stencils:** Stencils are a great way to create intricate designs without having to be a skilled artist.
* **Experiment with textures:** Add texture to your designs by using sponges, textured rollers, or even sand.
* **Add embellishments:** Glue on beads, buttons, or other embellishments to add extra flair.
* **Protect surfaces:** Always protect your work surface with newspaper or a drop cloth.
* **Clean your brushes:** Clean your brushes immediately after use with soap and water to keep them in good condition.
Related article.

Common mistakes to avoid with creative plant pot painting
Even experienced painters make mistakes sometimes. Here are some common pitfalls to avoid when creative plant pot painting.
* **Skipping the primer:** Primer is essential for helping the paint adhere properly and preventing it from peeling or chipping.
* **Using the wrong type of paint:** Choose paints that are specifically designed for use on the material of your pot (e.g., terracotta, ceramic, plastic).
* **Applying thick coats of paint:** Thick coats of paint can take a long time to dry and are more prone to drips and cracks.
* **Not letting the paint dry completely:** Always let the paint dry completely before adding another coat or applying sealant.
* **Forgetting to seal your work:** Sealing your work protects the paint from moisture, UV rays, and scratches, ensuring that your design lasts for years to come.
* **Ignoring drainage:** Ensure your painted pot still allows for proper drainage to keep your plants healthy.

Frequently asked questions about creative plant pot painting
Still have questions? Here are some frequently asked questions about creative plant pot painting.
* **What kind of paint is best for plant pots?** Acrylic paints are generally the best choice, as they are durable, water-resistant, and available in a wide range of colors.
* **Do I need to prime my plant pots before painting?** Yes, priming is highly recommended, as it helps the paint adhere better and prevents it from being absorbed by the pot.
* **How do I protect my painted plant pots from the weather?** Apply a coat of sealant specifically designed for outdoor use.
* **Can I paint plastic plant pots?** Yes, but you may need to use a special primer that is designed for plastic surfaces.
* **How do I clean painted plant pots?** Wipe them down with a damp cloth or sponge. Avoid using harsh chemicals or abrasive cleaners.
* **Can I use spray paint on plant pots?** Yes, but ensure you use a primer and sealant that are compatible with spray paint and appropriate for the pot material.

Conclusion & Final Thoughts
Creative plant pot painting is a fantastic way to add a personal touch to your indoor or outdoor garden. By following these tips and tricks, you can transform plain pots into stunning works of art. So, gather your supplies, unleash your creativity, and get painting!
Remember, there’s no right or wrong way to paint a plant pot. The most important thing is to have fun and express yourself. Happy painting!
