Want to turn your kitchen scraps and yard waste into nutrient-rich gold for your garden? Creating your own compost is an amazing way to reduce waste and boost your plants’ health. And the best part? You can do it on a budget by building your own diy compost bins.
Benefits of diy compost bins
Why build your own compost bin when you could just buy one? Well, there are tons of great reasons! Cost is a big one. Store-bought compost bins can be expensive, while diy compost bins can be made from readily available and often free materials.
Beyond saving money, building your own bin allows you to customize it to your specific needs and space. Got a small balcony? No problem! Need a huge bin for all your leaves? You can build that too!
- Save money on store-bought compost.
- Reduce landfill waste by composting food scraps and yard waste.
- Improve your garden soil naturally.
- Customize the size and design to fit your needs.
Step-by-Step Guide
Ready to dive in? Here’s a basic guide to building a simple and effective compost bin. This design uses readily available materials and is easy to adapt.
Choosing Your Materials
The beauty of diy compost bins is that you can use a variety of materials. Here are some popular options:
- Pallets: Wooden pallets are often free and readily available. They can be easily assembled into a three-bin system for different stages of composting.
- Chicken Wire: A simple wire cylinder can be a great starting point.
- Plastic Bins: Old plastic bins (with lids!) can be repurposed into compost bins. Just drill some holes for aeration.
For this example, we’ll focus on building a simple pallet compost bin, which is a beginner-friendly option. You’ll need four wooden pallets, screws (or nails), a drill (or hammer), and some basic tools like a measuring tape and level.

Building the Pallet Bin
Start by selecting a level spot in your yard that’s easily accessible. Aim for a spot with partial shade to help regulate moisture levels.
- Stand three pallets upright to form a U-shape.
- Secure the pallets together by screwing or nailing them at the corners.
- Attach the fourth pallet to the front, either permanently or with a hinge to allow for easy access.
That’s it! You’ve created a basic three-sided compost bin. You can leave the bottom open, or add a bottom using extra pallet wood or other materials.
Consider building a three-bin system for turning your compost. This involves creating three adjacent bins using the same method. As one bin fills, you can move the composting material to the next bin, allowing it to mature. Related article
Adding Your Compost Materials
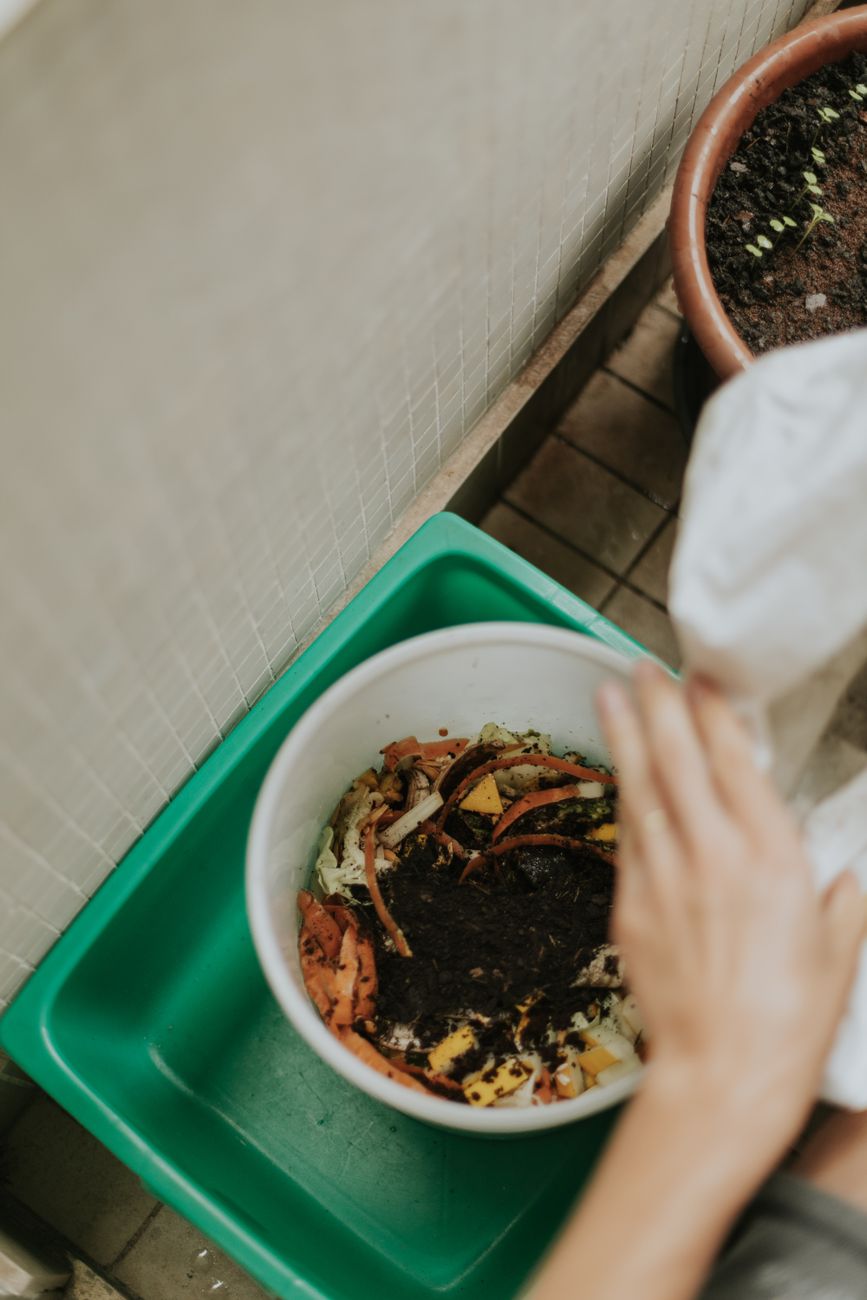
Now comes the fun part – adding your “greens” and “browns”! Greens are nitrogen-rich materials like food scraps and grass clippings. Browns are carbon-rich materials like leaves, twigs, and shredded paper.
Aim for a balance of greens and browns, roughly a 1:1 ratio. Add materials in layers, and be sure to turn the compost regularly to aerate it.
- Greens: Fruit and vegetable scraps, coffee grounds, grass clippings.
- Browns: Dried leaves, twigs, shredded newspaper, cardboard.

Tips for perfect diy compost bins
Here are some tips to help you achieve compost perfection!
- Chop it up: Smaller pieces decompose faster.
- Keep it moist: Compost should be damp, like a wrung-out sponge.
- Turn it regularly: Aerating the compost is key to speeding up decomposition.
- Be patient: Composting takes time, typically a few months.
Consider adding a compost thermometer to monitor the temperature. The ideal temperature range for composting is between 130-160°F. This indicates that the microbes are working hard to break down the organic matter. Also, adding worms can speed up the composting process and create nutrient-rich worm castings.

Common mistakes to avoid with diy compost bins
Even the best intentions can lead to composting mishaps. Here are some common mistakes to avoid:
- Adding meat, dairy, or oily foods: These can attract pests and create unpleasant odors.
- Adding pet waste: This can introduce harmful bacteria to your compost.
- Ignoring the green-to-brown ratio: An imbalance can slow down the process.
- Letting the compost get too dry or too wet: Moisture is key!
If your compost starts to smell bad, it’s usually a sign of too much nitrogen (greens) or not enough aeration. Add more browns and turn the pile more frequently. source Remember to be diligent about your layers. Good compost takes time and effort!

Frequently asked questions about diy compost bins
Got questions about diy compost bins? Here are some common ones and their answers:
Q: How long does it take to make compost?
A: It depends on several factors, but typically it takes anywhere from 3 to 12 months.
Q: What if my compost smells bad?
A: It likely needs more aeration and/or more brown materials.
Q: Can I compost weeds?
A: Only if they haven’t gone to seed. Otherwise, you risk spreading them in your garden.
Q: Where should I put my compost bin?
A: In a shady spot with good drainage.

Conclusion & Final Thoughts
Building your own diy compost bins is a rewarding project that benefits both your garden and the environment. By following these steps and avoiding common mistakes, you can create nutrient-rich compost that will help your plants thrive. So, gather your materials, get creative, and start composting today!
