Thinking about creating a more comfortable outdoor space? DIY patio covers can be a fantastic way to extend your living area and enjoy your backyard, rain or shine. They’re a surprisingly achievable project for the average homeowner and can add significant value and enjoyment to your home.
This guide will walk you through the process, from understanding the benefits of diy patio covers to avoiding common pitfalls. Let’s get started!
Benefits of diy patio covers
Why should you consider building your own patio cover? The advantages extend beyond just saving money on professional installation.
- Cost Savings: The most obvious benefit! You save on labor costs, potentially cutting the overall price significantly.
- Customization: Build a cover that perfectly matches your style, needs, and the architecture of your home.
- Increased Home Value: A well-built patio cover can increase your property value, making it a worthwhile investment.
- Personal Satisfaction: There’s a great sense of accomplishment in building something yourself!
- Extended Outdoor Living: Enjoy your patio more, regardless of the weather.
Imagine relaxing on your patio, protected from the scorching sun or a light drizzle. That’s the power of a diy patio cover!

Step-by-Step Guide
Ready to get your hands dirty? Here’s a simplified step-by-step guide to building a basic patio cover.
Planning and Design
Before you even pick up a hammer, careful planning is essential. Consider these factors:
- Measurements: Accurately measure the area you want to cover.
- Style: Choose a design that complements your home. Options include simple shade sails, solid roofs, and pergola-style covers.
- Materials: Decide on the materials you’ll use. Wood, aluminum, and polycarbonate are popular choices.
- Building Codes: Check your local building codes and obtain any necessary permits. This is extremely important! source
This stage is crucial for avoiding costly mistakes later. Don’t skip it!

Gathering Materials and Tools
Create a comprehensive list of materials and tools to avoid mid-project supply runs. This will keep you on schedule and avoid frustrating delays. Here are some common requirements:
- Lumber (posts, beams, rafters)
- Roofing material (e.g., polycarbonate panels, shingles)
- Fasteners (screws, nails, bolts)
- Concrete (for post footings)
- Tools (saw, drill, level, measuring tape, post hole digger, safety glasses)
Rent any specialized tools you don’t own to save money.
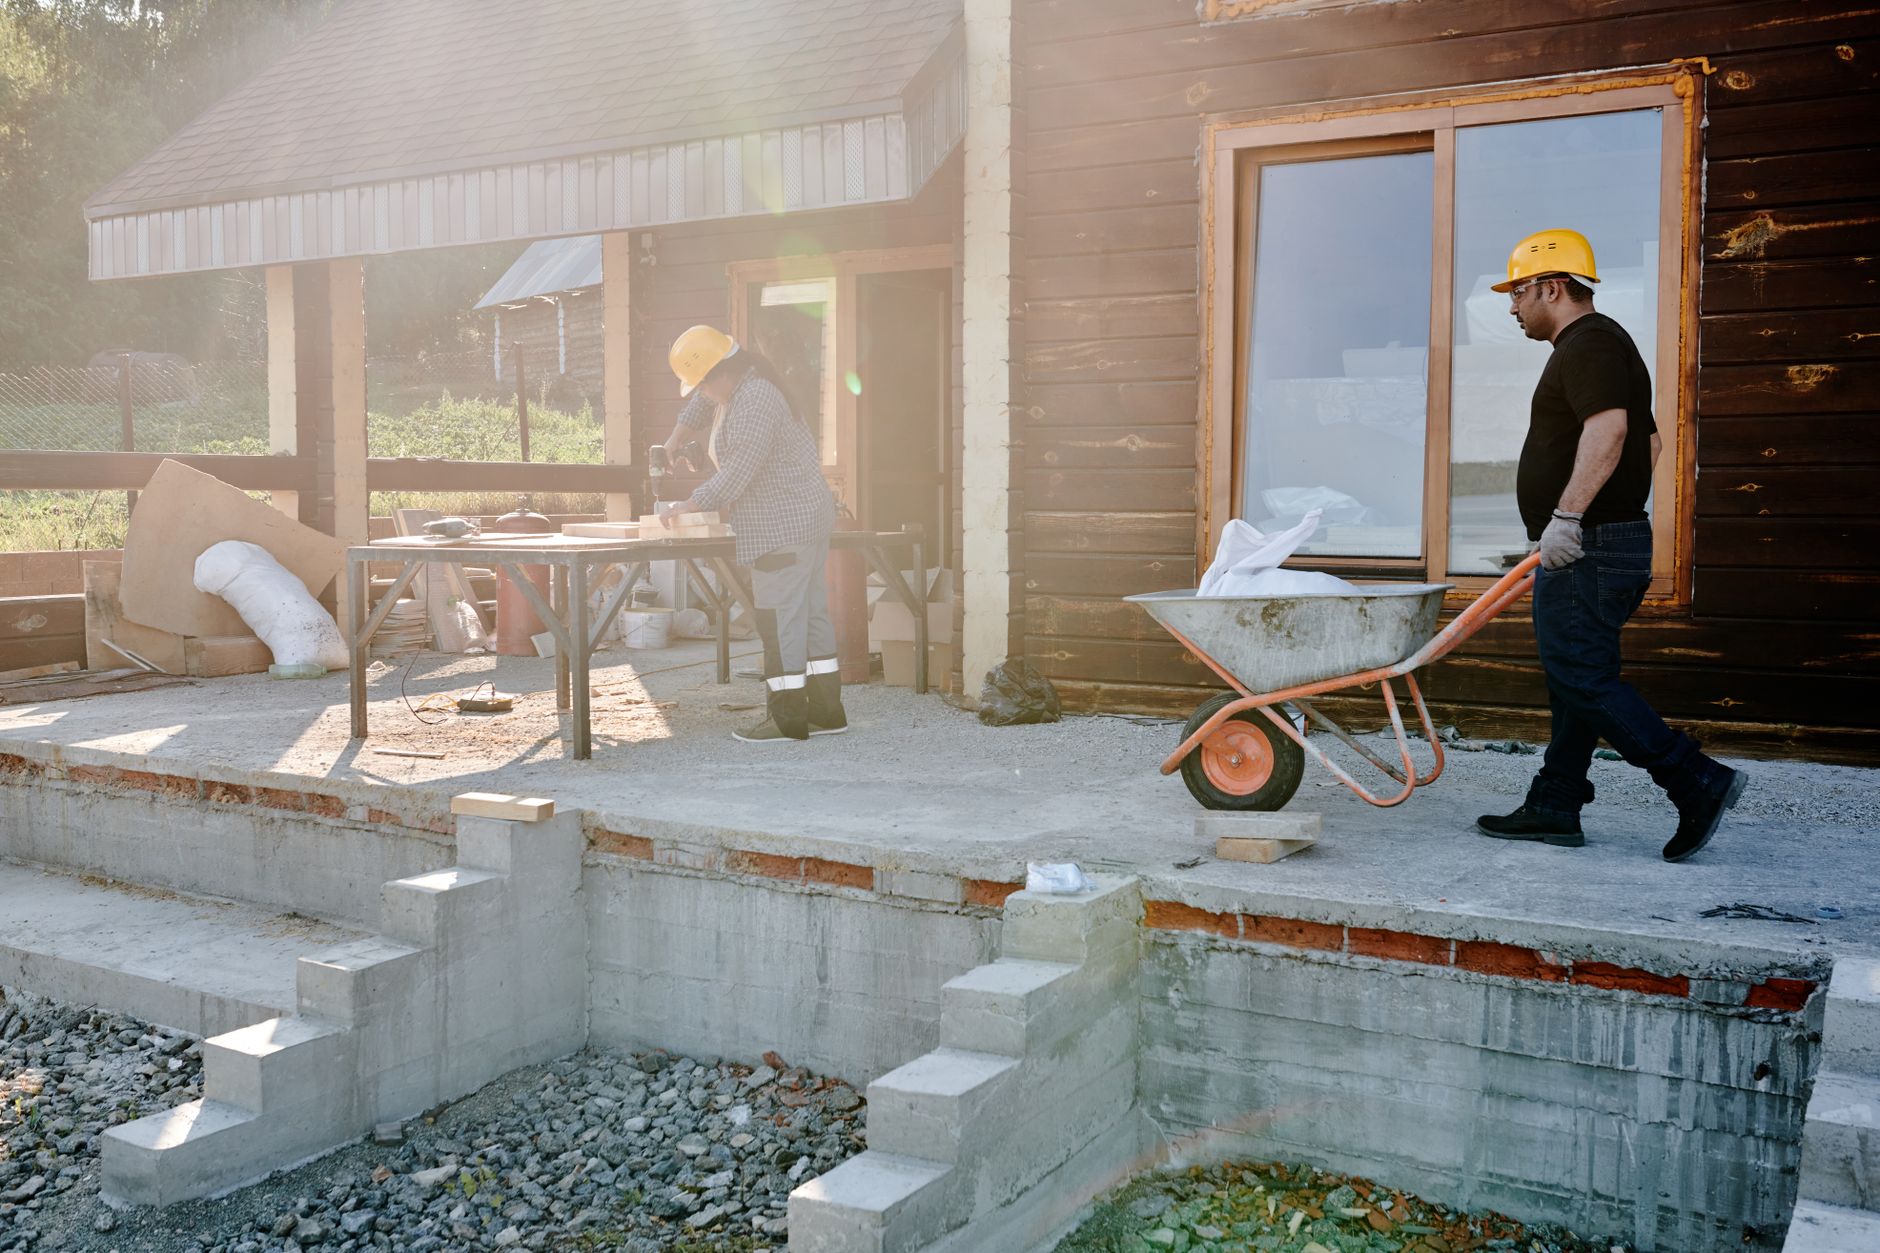
Building the Frame
This is where the real construction begins. This is also where attention to detail pays off. A solid, level frame is the foundation of a good diy patio cover.
- Set Posts: Dig post holes and set the posts in concrete, ensuring they are plumb (perfectly vertical).
- Attach Beams: Secure the beams to the tops of the posts, creating the main support structure.
- Install Rafters: Attach rafters to the beams, spacing them evenly.
Double-check all measurements and connections for accuracy.
Adding the Roofing
The roofing provides the actual protection from the elements. Consider the level of shade or rain protection you need when choosing your roofing material.
- Install Roofing Material: Attach your chosen roofing material to the rafters, following the manufacturer’s instructions.
- Seal Seams: Seal any seams or gaps to prevent leaks.
Proper installation is key to a durable and weather-resistant patio cover.

Finishing Touches
The finishing touches are what make your diy patio cover truly special. Consider these additions:
- Painting or Staining: Protect and beautify the wood with paint or stain.
- Lighting: Add outdoor lighting for ambiance and safety.
- Fans: Install a ceiling fan for increased comfort.
- Landscaping: Enhance the area around the patio cover with plants and flowers.
These details will transform your patio into a relaxing and inviting space.

Tips for perfect diy patio covers
Here are a few extra tips to help you create a stunning and long-lasting patio cover:
- Use Quality Materials: Don’t skimp on materials. Invest in durable, weather-resistant products.
- Take Your Time: Rushing can lead to mistakes. Work carefully and methodically.
- Get a Second Opinion: Ask a friend or family member with construction experience to review your plans.
- Proper Drainage: Ensure your patio cover has adequate drainage to prevent water damage.
- Safety First: Always wear safety glasses and other protective gear when working with power tools.

Common mistakes to avoid with diy patio covers
Learning from others’ mistakes can save you time, money, and frustration.
- Ignoring Building Codes: Always obtain necessary permits and follow local building codes.
- Poor Planning: Inadequate planning can lead to structural issues and design flaws.
- Inadequate Support: Ensure the posts and beams are strong enough to support the weight of the roof.
- Improper Drainage: Poor drainage can cause water damage and rot.
- Using the Wrong Fasteners: Use fasteners appropriate for outdoor use to prevent corrosion. Related article
Frequently asked questions about diy patio covers
Here are some common questions about building your own patio cover:
How much does it cost to build a DIY patio cover?
The cost varies depending on the size, materials, and complexity of the design. A basic wood frame with a polycarbonate roof can cost anywhere from $500 to $2000 or more.
How long does it take to build a DIY patio cover?
A simple patio cover can be completed in a weekend, while more complex projects may take several days or even weeks.
What are the best materials for a DIY patio cover?
Wood, aluminum, and polycarbonate are all popular choices. Wood is affordable and easy to work with, but requires more maintenance. Aluminum is durable and low-maintenance, but can be more expensive. Polycarbonate is lightweight and provides excellent light transmission.
Do I need a permit to build a patio cover?
Yes, in most cases you will need a permit. Check with your local building department for specific requirements.
Is it safe to DIY a patio cover?
Yes, but it’s important to take safety precautions. Wear safety glasses, gloves, and other protective gear when working with power tools. If you are not comfortable working with power tools or heights, consider hiring a professional.
Conclusion & Final Thoughts
Building your own diy patio cover is a rewarding project that can transform your outdoor living space. With careful planning, quality materials, and attention to detail, you can create a beautiful and functional patio cover that you’ll enjoy for years to come.
So, gather your tools, dust off your DIY skills, and get ready to create the patio of your dreams!